

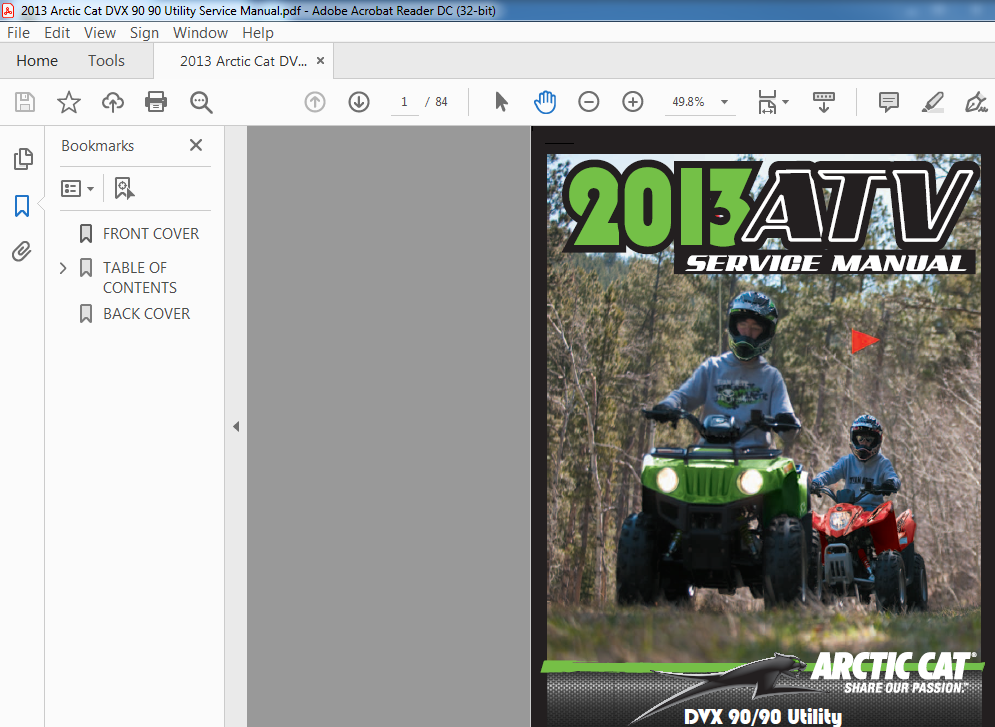
2013 Arctic Cat DVX 90 90 Utility Service Manual
DESCRIPTION:
2013 Arctic Cat DVX 90 90 Utility Service Manual
GENERAL INFORMATION:
A new ATV and an overhauled ATV engine require a “break-in” period. The first month is most critical to the life of this ATV. Proper operation during this break-in period will help assure maximum life and performance from the ATV. During the first three hours of operation, always use less than 1/2 throttle. Varying the engine RPM during the break-in period allows the components to “load” (aiding the mating process) and then “unload” (allowing components to cool).
- Although it is essential to place some stress on the engine components during break-in, care should be taken not to overload the engine too often. When the engine starts, allow it to warm up properly. Idle the engine several minutes until the engine has reached normal operating temperature.
- Do not idle the engine for excessively long periods of time. After the completion of the break-in period, the engine lubricant should be changed. Other maintenance after break-in should include checking of all prescribed adjustments and tightening of all fasteners.
TABLE OF CONTENTS:
2013 Arctic Cat DVX 90 90 Utility Service Manual
General Information 2
Specifications 2
Torque Specifications 3
Torque Conversions (ft-lb/N-m) 3
Break-In Procedure 3
Gasoline-Oil-Lubricant 4
Genuine Parts 4
Preparation For Storage 4
Preparation After Storage 5
Periodic Maintenance/Tune-Up 6
Periodic Maintenance Chart 6
Air Filter 7
Valve/Tappet Clearance 7
Testing Engine Compression 8
Spark Plug 9
Muffler/Spark Arrester 9
Transmission Lubricant 9
Engine Oil 10
Headlights 11
Brakelight/Taillight 11
Brake Systems 12
Replacing Drive Belt 14
Adjusting Shift Linkage 15
Troubleshooting Brake System 15
Engine/Transmission 16
Removing Engine/Transmission 16
Top-Side Components 17
Removing Top-Side Components 18
Servicing Top-Side Components 20
Installing Top-Side Components 25
Left-Side Components 28
Removing Left-Side Components 28
Installing Left-Side Components 30
Right-Side Components 31
Removing Right-Side Components 32
Servicing Right-Side Components 35
Installing Right-Side Components 36
Center Crankcase Components 38
Disassembling Crankcase Halves 38
Servicing Crankcase Components 39
Assembling Crankcase Half 40
Installing Engine/Transmission 41
Troubleshooting 43
Fuel/Lubrication 45
Carburetor Schematic 45
Carburetor 45
Throttle Cable Free-Play 49
Engine RPM (Idle) 49
Gas Tank 50
Gas Tank Valve 51
Gas/Vent Hoses 52
Oil Pump Assembly 52
Oil Screen/Filter 52
Troubleshooting 52
Electrical System 53
Battery 53
Testing Electrical Components 54
Timing Sensor 54
CDI/Ignition Coil 54
Stator Coil 54
Choke Circuit 55
Brakelight Switch 55
Fuse 55
Ignition Coil 55
Ignition Switch 56
Handlebar Control Switches 56
Magneto Assembly 56
Starter Motor 57
Regulator/Rectifier 57
Ignition Timing 57
Headlights 57
Troubleshooting 57
Drive System 59
Drive Chain/Sprockets 59
Rear Hub/Drive Axle 61
Front Hub 64
Brake Systems 65
Troubleshooting 66
Suspension 67
Shock Absorbers 67
A-Arm68
Swing Arm70
Wheels and Tires 72
Troubleshooting 74
Steering/Frame/Controls 75
Steering Post/Handlebar/Tie Rods 75
Handlebar Grip78
Handlebar Switch 78
Hand Brake Lever Assemblies 79
Troubleshooting 82
VIDEO PREVIEW OF THE MANUAL:

IMAGES PREVIEW OF THE MANUAL:
PLEASE NOTE:
- This is the SAME exact manual used by your dealers to fix your vehicle.
- The same can be yours in the next 2-3 mins as you will be directed to the download page immediately after paying for the manual.
- Any queries / doubts regarding your purchase, please feel free to contact [email protected]


